 With today's life-speed when you need to keep up with a lot, a woman has to sometimes very hard. Child, husband, home, work, shopping ... the list can be long. It seems that everything leans on you and is about to be crushed. All in all, then, as specialist advice on time management, do not try to do everything at once! The secret is in the establishment of regulations, drawing up daily to-do list and get rid of unnecessary things. Recent litter not only flat, but also life. Another effective way - zoning housing and alternately cleaning each of them.
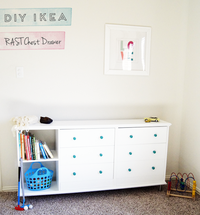
Perhaps, nursery - One of the residential "areas" that instantly clogged and often requires cleaning. Today's remake not only streamline a significant part of children's clothes, but their outcome will transform the space of the room. Getting to the stages of the project.
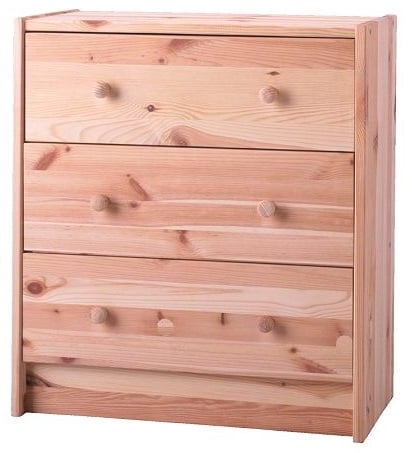
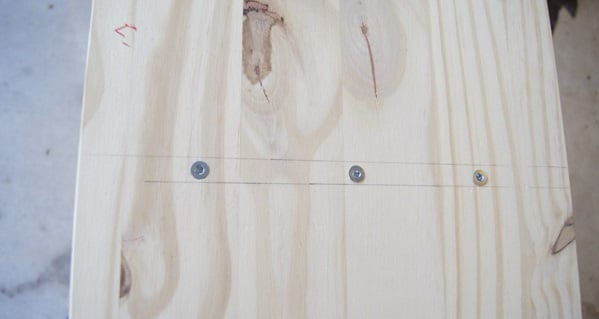
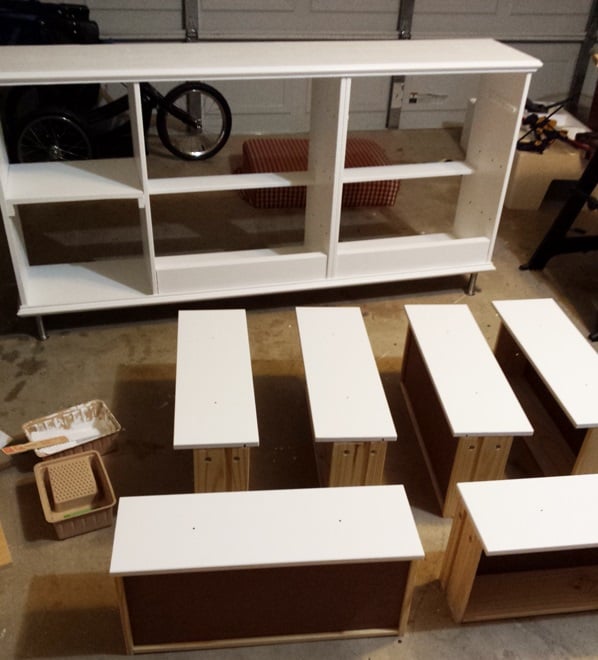
1 stage. The store IKEA acquire 2 chest RAST... Initially, it was decided that the entire structure will be made in white, so we paint all the components of the chest of drawers. Then we collect only frames from them. We fasten them together using bolts. This will be the basis on which the other parts will be located.
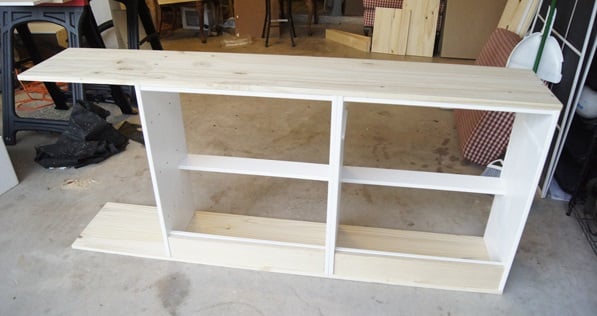
2 stage. By bolts anchoring the top and bottom frame panels made of pine or any other material. At length they must have a minimum of 104 cm (the size of two drawers RAST) and wide - 30 cm. The board, which is reserved for future shelves may vary, depending on your needs and preferences.
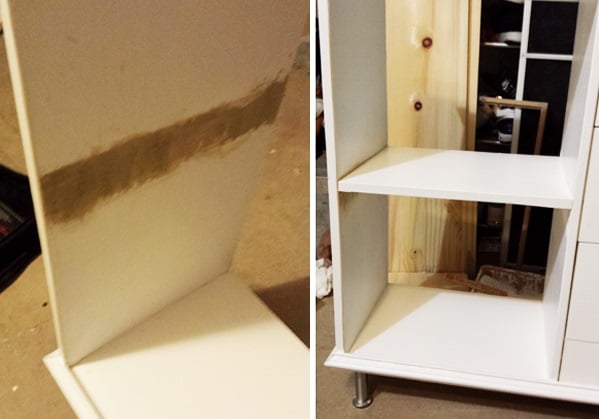
3 stage. After the most massive part of the attached attempting to install a second sidewall (70h30 cm). In the niche, which is formed between the wall and the komodnoy again we created on the sides with glue for wood anchoring Reiki. They will serve to maintain the shelf. By the way, if the size of the room allows, you can easily build the same niche and with the other hand. Thus, to increase its usable area.
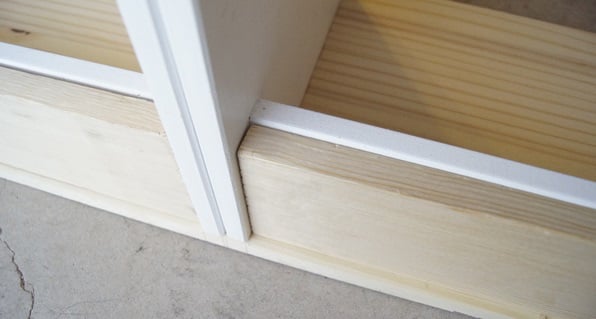
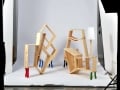
4 stage. For decorating the chest will be used Furniture cornice. And to a piece of furniture bought a finished look, the space that is available under the drawer and the bottom panel, stitched boards. This will also help the adhesive. With the help of clamps fix all adhesive parts and leave for a while.
5 stage. Cut and install shelf. With the help of small studs attach furniture cornice on the top and bottom of the chest. Do not worry if somewhere there was a small gap. The use of a filler for wood, sandpaper and then fix these minor flaws.
6 stage. Attach the perimeter of the bottom of the chest 4 Capito legs stainless steel.
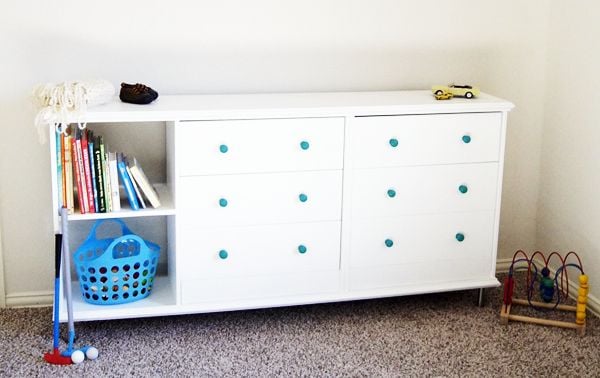
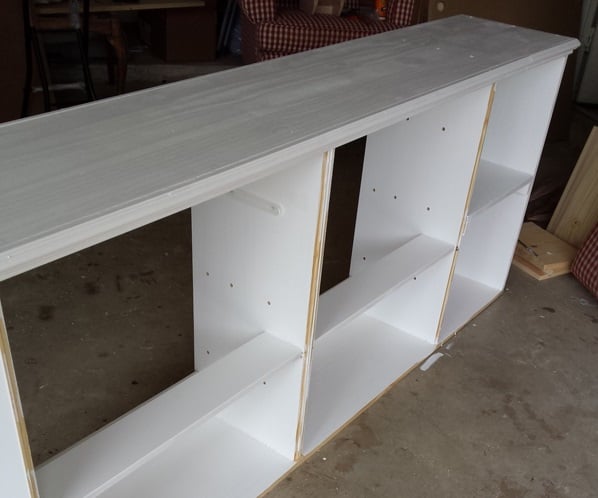
7 stage. Chest snow-white cover and handle delicate turquoise paint.
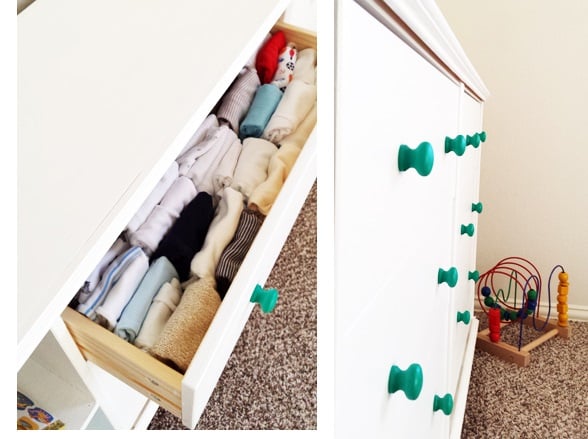
Here's a roomy chest-dudeEquipped with a side shelf in our result was. In the boxes are stored children's clothes, and the shelves are allocated to the basket with books and small toys.